
BUILDING OUR LEDGEWOOD FARMS 26’X72’ HIGH TUNNEL - A PHOTO GALLERY
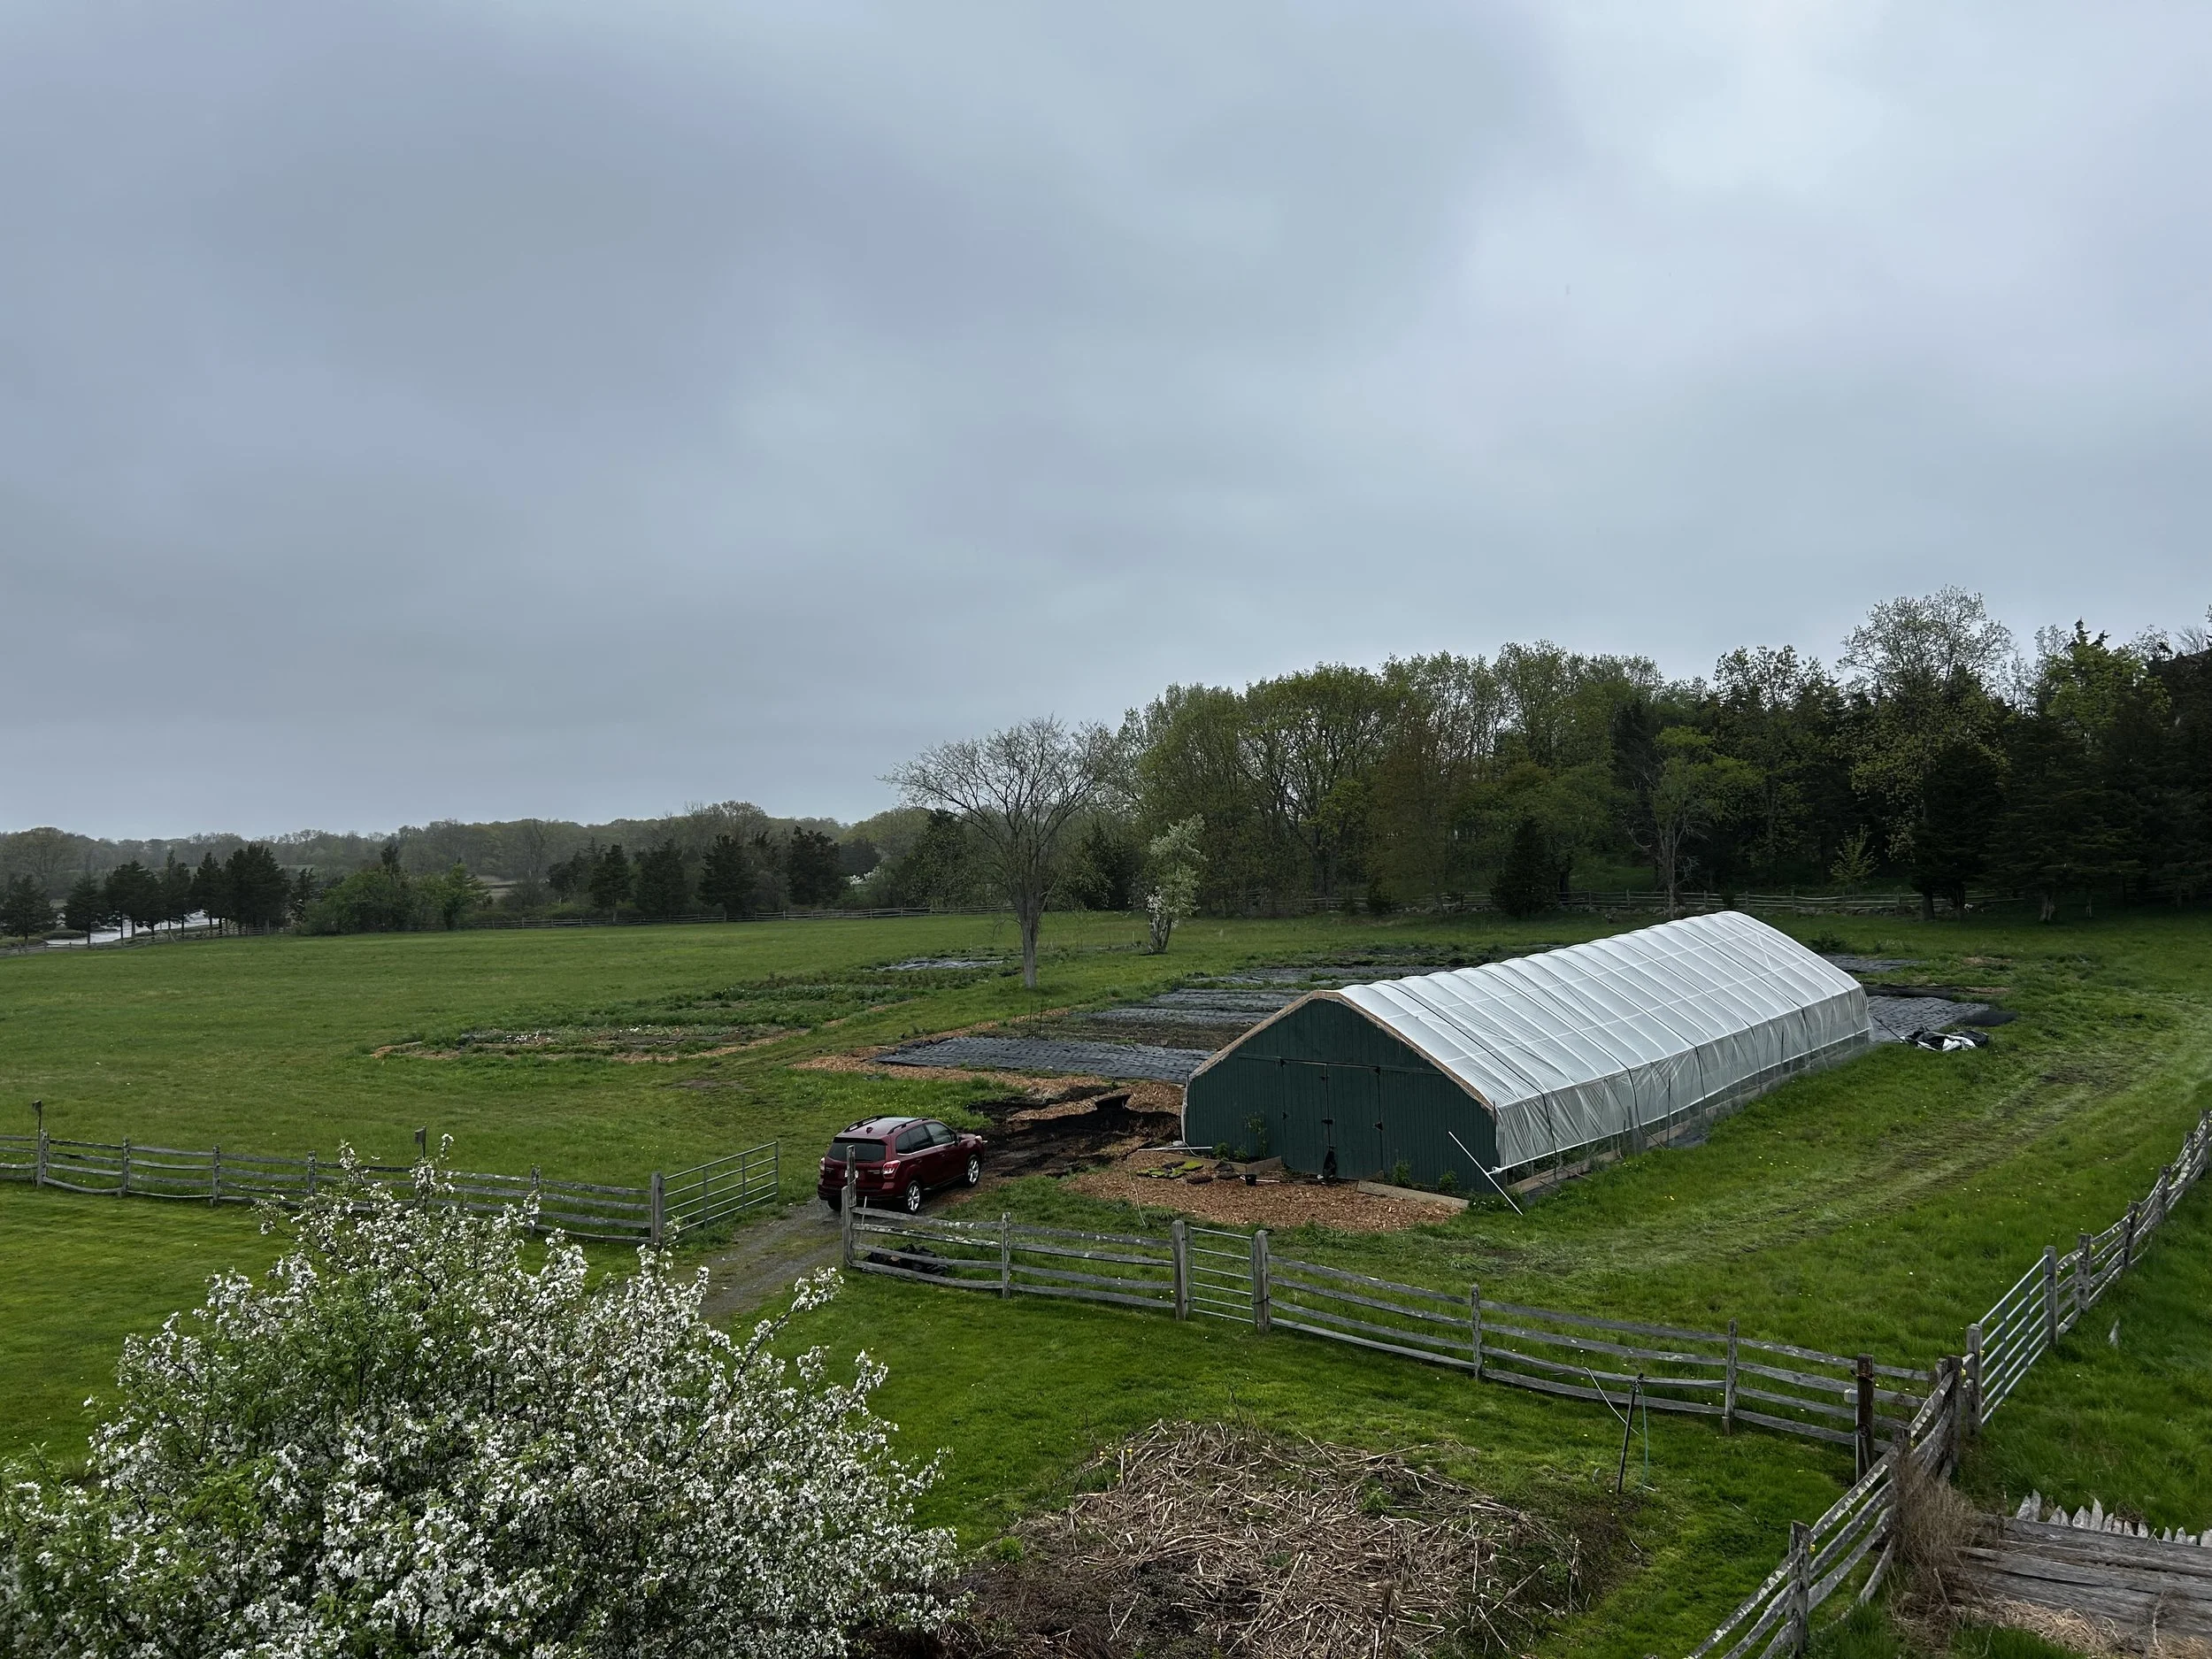
Buildling our Ledgwood Farms 26’x72’ High Tunnel (From someone who had never built anything in her life)
THE BASICS OF OUR TUNNEL
Any high tunnel kit you purchase should come with directions. There are also many online resources for building up a high tunnel. This blog post is not going to be a step-by-step, but a reflection of our build.
In May 2024, I began the process of applying for an NRCS EQIP grant-funded high tunnel. The whole process is a bit of a blur at this point in time- I recall going to my region’s NRCS office, meeting with an NRCS agent, and filling out paperwork with the NRCS and FSA, who conveniently were in the same building in my county. Both agencies were great to work with, and things went smoothly. NRCS sent an agent out to view my farming site to confirm it was suitable for a high tunnel. A month or so after applying, I was notified that I was awarded the NRCS EQIP grant I applied for which paid for the high tunnel kit.
I had been reading non stop about cut flower production in high tunnels- suitable crops for my region, pest management practices, and which crops were most profitable. But, I had minimal experience or knowledge about building the high tunnel itself. I opted to build my own tunnel as opposed to paying someone else to build it for me, largely because I did not have the funds to hire someone to build it. But also because I wanted the practical skills and experience from building the high tunnel. (I definitely learned a lot.)
My high tunnel kit arrived in October of 2024. It was a lot of metal poles, a few boxes of hardware, and the plastic covering. And the directions for building it. I got a 26’x72’ Ledgewood High Tunnel kit, and I’m perfectly happy with it. It’s a great tunnel. If I were to get additional tunnels, I would likely choose another Ledgewood or maybe a Rimol- they are both great quality tunnels made to withstand intense New England winters.
Building the high tunnel was broken down into several key parts:
Site selection
Driving groundposts & establishing square
Erecting bows
Installing purlins
Installing hip boards & baseboards
Building endwalls & Door
Skinning the high tunnel
Site selection
For site selection, I tucked the high tunnel in the corner of my field to align with the Conservation Restriction held on my farmland. It is a perfectly fine site, it sits on a slight slope which is great for drainage. I wish I could have pushed it a bit uphill, and the front door to the tunnel does get standing water by it after a lot of rain. But my hands were a bit tied with the CR on the farmland.

Our site- slightly sloped, relatively level otherwise.

The high tunnel kit as it was delivered. Ed from Ledgewood was able to fit all of this in a rig on the back of his pickup truck, and it took Ed and me just 15 or so minutes to unload everything.
Driving groundposts & establishing square
Out of all of these steps, driving groundposts & establishing square is the most important step, IMO.
I did not do this step very well, and it made building up the rest of the tunnel more tedious than it needed to be. My high tunnel is not perfectly square, and it made attaching the purlins, hip boards, and baseboards brutal. Take time making sure your ground posts are square. And then take time driving your groundposts in to be perfectly straight and for the holes for any bolts to be properly aligned. You can rent a gas powered post pounder from a tool rental site like Home Depot, but I decided to just pound the posts in with a sledge hammer. Make sure to use a metal cap to pound in the posts, or else you may damage your ground posts and not be able to insert the bows onto them if the metal is warped.

Danny sledgehammering a post. We’d take turns because it was pretty heavy work. You can see our spacing board on the ground to make sure ground posts are perfectly 4’ apart. The posts are driven almost 3’ into the ground, which is great anchoring for the tunnel. Pay a lot of attention that your posts are going into the ground perfectly straight, or else your bows may not fit in correctly.

I ended up having to move 12 posts to bring the high tunnel further downhill to align with the CR on the land. It was probably my least favorite part of the high tunnel build. BUT if you ever need to pull up deeply anchored ground posts, we were able to do so with a thick chain and a cheap car jack (it was too wet to bring the tractor over).
Erecting bows
Erecting the bows is a two person job. In my kit, the bows arrive in a couple different pieces that you have to assemble before erecting them. It was pretty easy, I did this alone, it’s just lining the bow components up and dropping a bolt through them.

One line of ground posts lined up (but not pounded into the ground), and another line vaguely where we think they’ll go. I also have the bows assembled and laid on the ground.

The first bow we got on the ground posts! It was a fun and rewarding step. Danny and I would carry a bow over, line my end up over its ground post, and Danny would maneuver his side to lock onto his ground post while I held the bow vertical. The bows are fixed onto the ground posts with a carriage bolt.
Installing purlins
Installing purlins was horrible, because the tunnel wasn’t perfectly square. On Ledgewood tunnels, you drop a 4” carriage bolt through the bow, and then through an aligned hole on the purlin, and bolt the connection. There were 5 purlins total, with the peak purlin being about 13’ off the ground, so I had to buy a 10’ ladder to safely reach. I did the two lowest sets of purlins alone by rigging a pulley system, but had to get Danny and my friend Will’s help to attach the 3 highest purlins. Will and I ended up having to use a come along to wrench to bows to be perfectly aligned with the predrilled holes in the purlins- again because the tunnel wasn’t perfectly in square. We also had to drill some bolt holes to be a bit larger. After the purlins we put in the wind bracing, and trusses and drop supports- all of which are easy steps.

Me installing one of the lower purlins. It was easy when they’d align properly.

My friend Will, trying to align the bolt holes in the bow and purlin with a come along. You’re totally not supposed to do it this way, using the tension of the come along, but we were desperate. And it did work.
Installing hip boards & baseboards
Installing hip boards & baseboards was more difficult than it needed to be, again because the tunnel wasn’t perfectly square. Overall it was pretty doable, I did the baseboards alone, trying to keep them as level as possible so that the roll up sides would rest against them smoothly. The hip boards were a two person job, we used 2x4x10s which were heavy enough we needed another person to hold up one end while the other bolted in their end. Danny and our friend Andrew did most of the hip boards which was such a blessing!

The hip boards are not totally level. But they still get the job done, bolted into the bows with 4” carriage bolts. If I did this again,or ever built another tunnel, I would also get taller baseboards. These are 2x10x10. I would prefer a 2x12, or even stack two 2x8s together to get a taller baseboard. I feel like this would let the roll up sides seal better.

Danny drilling a hole for the carriage bolt to go through the 2x4. The hip boards on our tunnel are about 6’ off the ground, which is an awkward height to work with. So definitely a two person job.
Building endwalls & Door
Endwalls & Door- this step was actually pretty fun. There are tons of resources on how to build endwalls, or any walls, and a door. My biggest tips are making sure your framing lumber for the endwall is plumb, and really taking time to frame out the door so it’ll be square and actually open. For our endwalls, we framed them with 2x4s and then covered with ½” T1-11 on the front (so it looks nice) and ¾” plywood on the back. We were able to use the circle saw for most cuts, and then I bought a jigsaw so we could actually get the shape of the endwalls to align with the shape of the bows.

The endwall framing consists of vertical studs spaced at 18”, and then horizontal blocking for support. The blocking also functions as little shelves in the tunnel, since there is no plywood on the other side of them. I dug the baseboard into the ground, then drove rebar through it that also attached to vertical studs to anchor in the endwall.

Me and Will working on the frames for the doors- the doors are really heavy duty, framed out with two layers of 2x8s. Which is good, because I’ve accidentally hit them with the bucket on the tractor a few times, thankfully they’re sturdy enough to hold up.
Skinning the high tunnel
Skinning the high tunnel- the fun part! I had a bunch of friends come out for my “birthday party” at the farm- surprise y’all we’re skinning the tunnel! I also had to run around and attach wiggle wire channel everywhere before everyone got there- along the hip boards and then on the endwalls. Hindsight- I should have attached the wiggle wire channel to the very first bow and the very last bow, as opposed to the endwalls, but they’re fine for now.

Theresa is holding one of the tennis balls with the rope, you can see the rope sticking out. Luz is prepping for her stint in the center of the tunnel, poking the plastic out from where it may get stuck.

Alex and Brian pulling their rope and the plastic slowly sliding over the tunnel.
Thankfully my birthday was a relatively windless day, but we still had to make two attempts to get the plastic on since it got kind of rowdy in the slightest breeze on our first try. We drilled holes in tennis balls, slid some rope through, tied it to the plastic, and threw them over to pull the plastic on. It was probably 10 of us out there? MVP was my friend Luz, standing in the middle of the tunnel with a tall rake to push the plastic over any places it got stuck up in.

I'm putting the wiggle wire into the channel to secure the plastic to the hip boards. And the last pic- our 10 person crew for putting the plastic on!

My birthday cake, since it actually was my birthday. There’s lots of plastic to trim off, but eating cake was way more pressing of a priority.
After all of these steps, there are a few more things to get done. I had to go back and tighten up the plastic, and put in the roll up sides. But after making it this far in the build, those two tasks feel super easy. I tried to do some bed prep, and then invited NRCS to come out and check the build so I could get the grant payout.
The NRCS validation of the tunnel was pretty straightforward, the agent pulled up the manufacturers guidelines and walked through, confirming I built it correctly to the directions I was provided. NRCS has specific criteria they want in any high tunnel funded through the EQIP grant that the agent validating my build wanted to confirm I had (4’ spacing between posts, diagonal wind bracing, gothic peak, etc.) Once they validated that the high tunnel was built correctly, I received my grant payout and felt like the tunnel project was finally complete!
Building the high tunnel took…. 10 months? From when I received the kit. Which was a long time, but we were also farming full time on top of that, and then there was a solid 4 months in the winter where the ground was frozen or it was just too cold to work on anything. This was a long term project I chipped away at whenever I could with help from my friends, all while breaking ground at our new farming site, continuing wholesale, CSA, and farmer’s market production. Hiring someone would have definitely resulted in a quicker build, but I’m really proud of all the work we did and all the skills I developed in the project.
Definitely glad it's done!
But I keep joking… Now that I have one high tunnel and I’ve seen just how great it is- I kind of do want another one!
